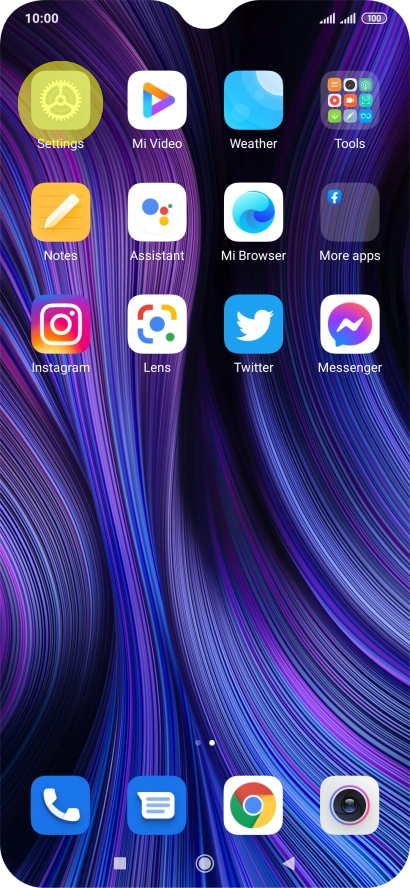
Xaiomi Redmi 9 Setup IMAP/POP

  1. Press Settings.

    https://www.hostworx.co.za/images/kbase/XaiomiRedmi/1.png


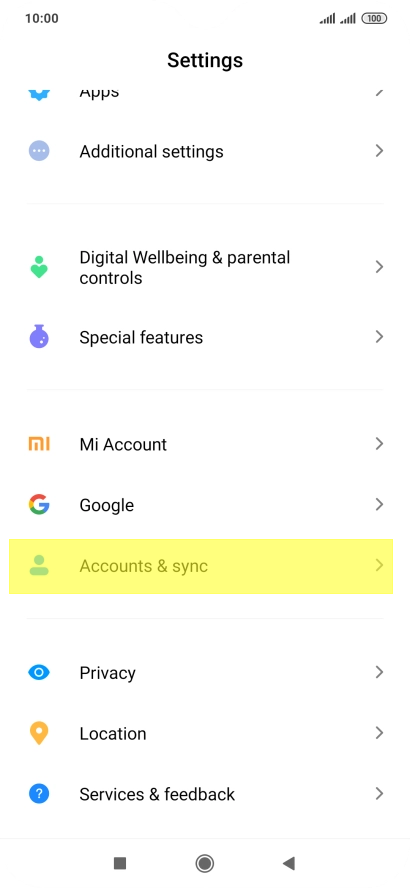
  2. Select Accounts & Sync.
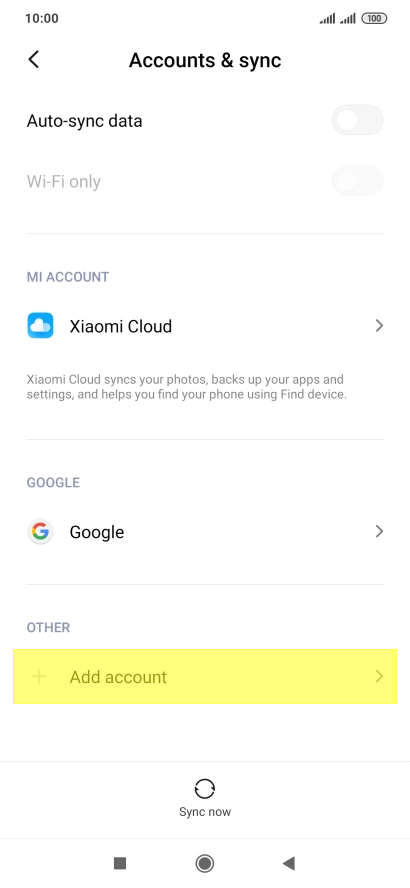
    https://www.hostworx.co.za/images/kbase/XaiomiRedmi/2.png


  3. Select Add Account.


    https://www.hostworx.co.za/images/kbase/XaiomiRedmi/3.png


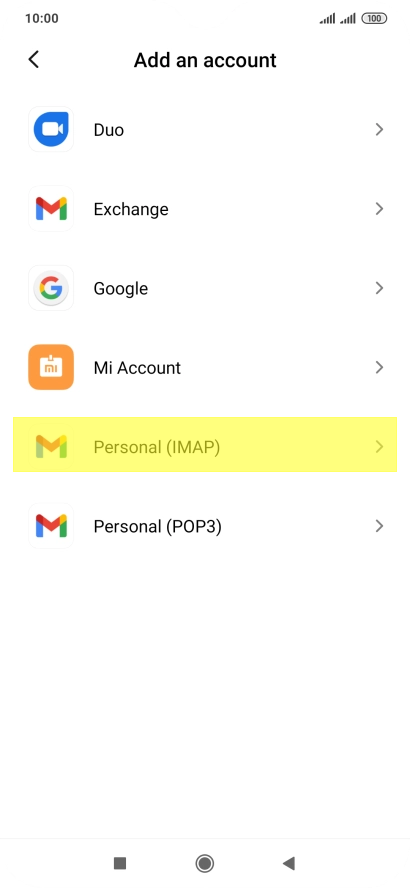
  4. Select Personal imap (or pop if you using pop)


    https://www.hostworx.co.za/images/kbase/XaiomiRedmi/4.png

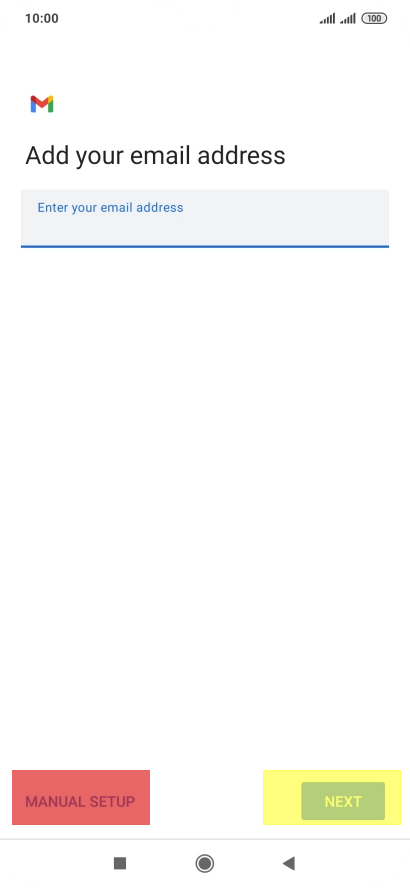
  5. Enter your email address and press Next. (Note: if you want to manually setup the account, select the manual Setup option (red marking), then skip to line 8)

    https://www.hostworx.co.za/images/kbase/XaiomiRedmi/6.png

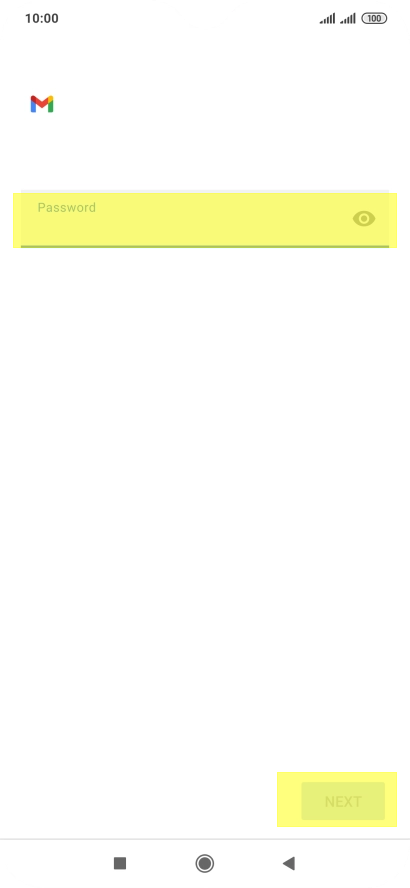
  6. Enter your password and press Next.

    https://www.hostworx.co.za/images/kbase/XaiomiRedmi/7.png


  7. You should see your account is setup press Next and follow instructions onscreen.
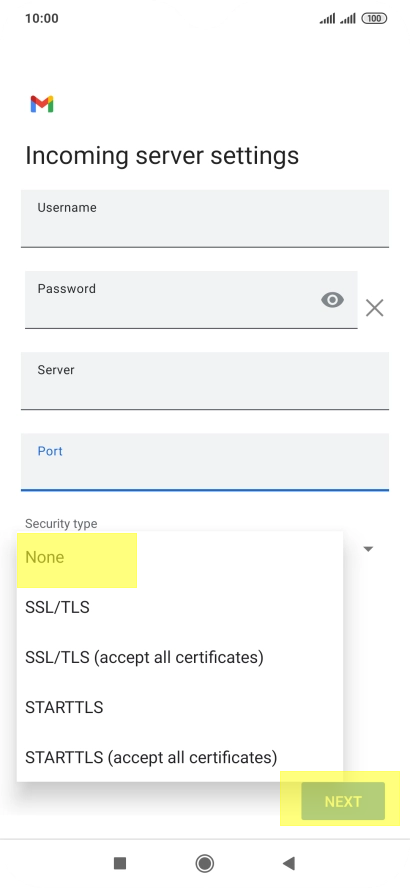
    https://www.hostworx.co.za/images/kbase/XaiomiRedmi/8.png


    MANUAL SETUP

  8. This is your incoming mail server settings, enter your username (your email address), and your password, the incoming mail server name is mail.xxx.xxx where xxx.xxx will be the last part of your email address after the @ sign, imap port 143(993 Tls or pop port 110 (995 Tls ) .

    https://www.hostworx.co.za/images/kbase/XaiomiRedmi/9.png


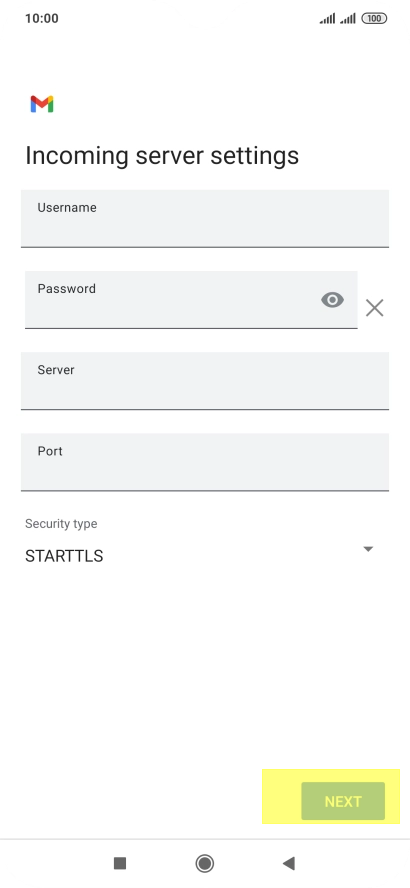
  9. To Turn off encryption of incoming email messages, press the drop-down list below, security type, select None and Next.

    https://www.hostworx.co.za/images/kbase/XaiomiRedmi/11.png


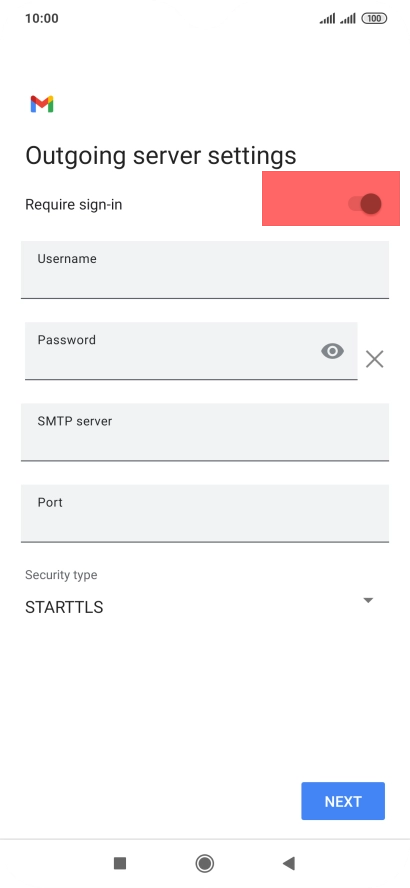
  10. Turn off the require sign in option to turn off the function (optional).

  11. Enter the outgoing mail settings, enter your username (email address) and password, the outgoing server name is the same as incoming mail server. mail.xxx.xxx. where xxx.xxx is the last part of your email address after the @ sign. the port number should be changed from 25 to 587 (590*)

    https://www.hostworx.co.za/images/kbase/XaiomiRedmi/12.png


  12. To Turn off encryption of outgoing email messages, press the drop-down list below, security type, Select none and Next.

    https://www.hostworx.co.za/images/kbase/XaiomiRedmi/13.png


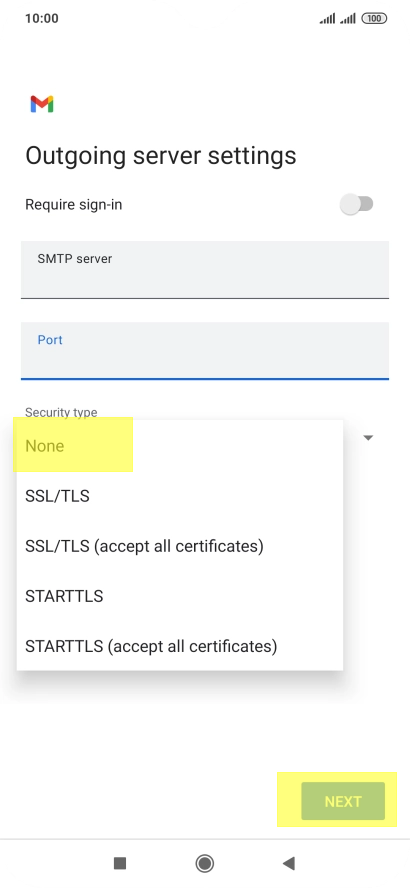
  13. Select none and press Next.


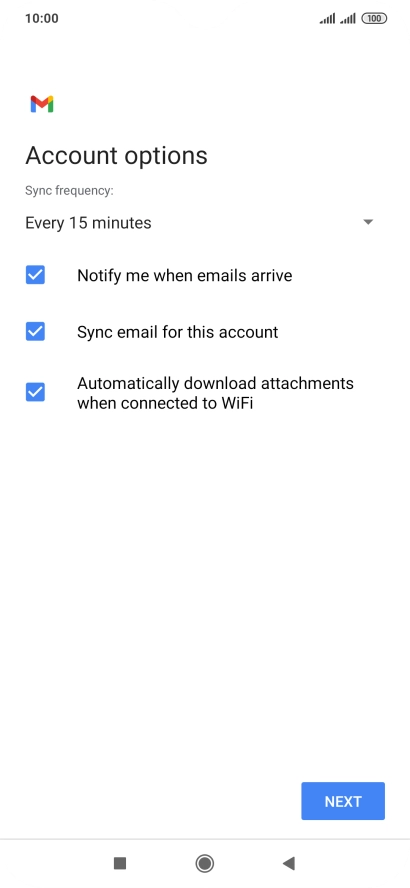
  14. Select the required sync settings of your mails, don't make it lower than 15 minutes and Next.

    https://www.hostworx.co.za/images/kbase/XaiomiRedmi/16.png


  15. Give your account a Name.
  16. Add a sender name to your mails. and press Next

    https://www.hostworx.co.za/images/kbase/XaiomiRedmi/17.png


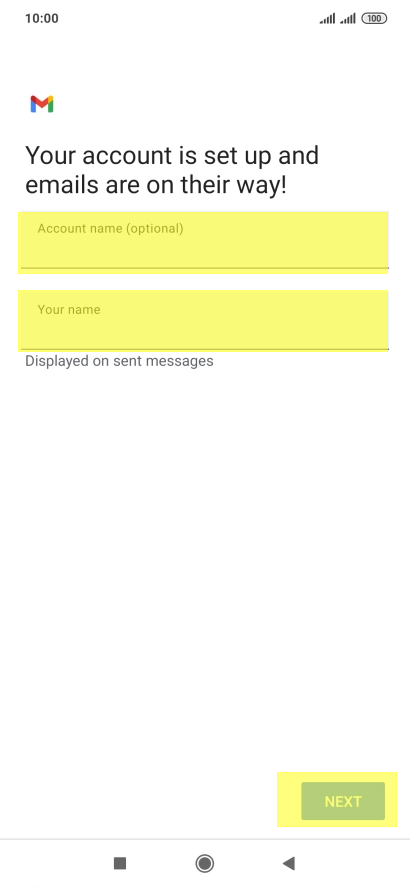
  17. Your account should now be setup and working.


  • 0 Users Found This Useful
Was this answer helpful?

Related Articles

What is SPAM or UCE/ UBE

Spam is a generic term that refers to the act of indiscriminately sending unsolicited, unwanted,...

iPhone, iPad or iPod Touch - IMAP Configuration

The iPhone supports IMAP. IMAP will allow you to  retrieve emails and folders from SmarterMail...

iPhone, iPad or iPod Touch - POP Configuration

NOTE : With POP3, your mail is saved in a mailbox on the remote server until you check your mail....

Blackberry Smartphone - POP/IMAP Setup & Configuration

For BlackBerry OS version 6 to 7.1: 1. Open Setup on the BlackBerry smartphone.2. Select Email...

Exchange ActiveSync - iPhone Setup & Configuration

Once you have had Microsoft Exchange ActiveSync enabled for the specific SmarterMail mailbox, you...